How to Choose an Excavator Tilt Coupler?
Choosing an Excavator Tilt Coupler is about matching the attachment to the machine, the work, and the conditions on site. A coupler that tilts smoothly can help shape a drainage ditch, trim a slope, or work around obstacles with fewer machine repositionings. But tilt range alone does not make a good choice. The coupler must fit the excavator’s weight class, pin dimensions, hydraulic setup, and approved lifting capacity. Check the manufacturer’s specifications, not just a product photo or sales description.
Small details matter. Confirm the pin diameter, pin-to-pin distance, and required hydraulic flow and pressure. Review how the coupler locks and how its status is verified. Compatibility should be confirmed with the excavator and attachment manufacturers before purchase or installation. A mismatch can cause poor fit, reduced performance, or unsafe operation. Not worth guessing.
Think about the work you actually do. A grading contractor may value precise tilt control, while frequent attachment changes may make connection speed more important. On a sloped site, check whether the coupler’s design and permitted operating range suit the task. Consider the added weight, too; it can affect reach and lifting performance. These trade-offs are easy to overlook when comparing prices.
There is no single best model for every excavator. This guide explains how to assess compatibility, capacity, controls, durability, and maintenance needs. Use the specifications as a starting point, then confirm the choice with a qualified dealer or manufacturer. Even a careful checklist cannot replace a site-specific review.
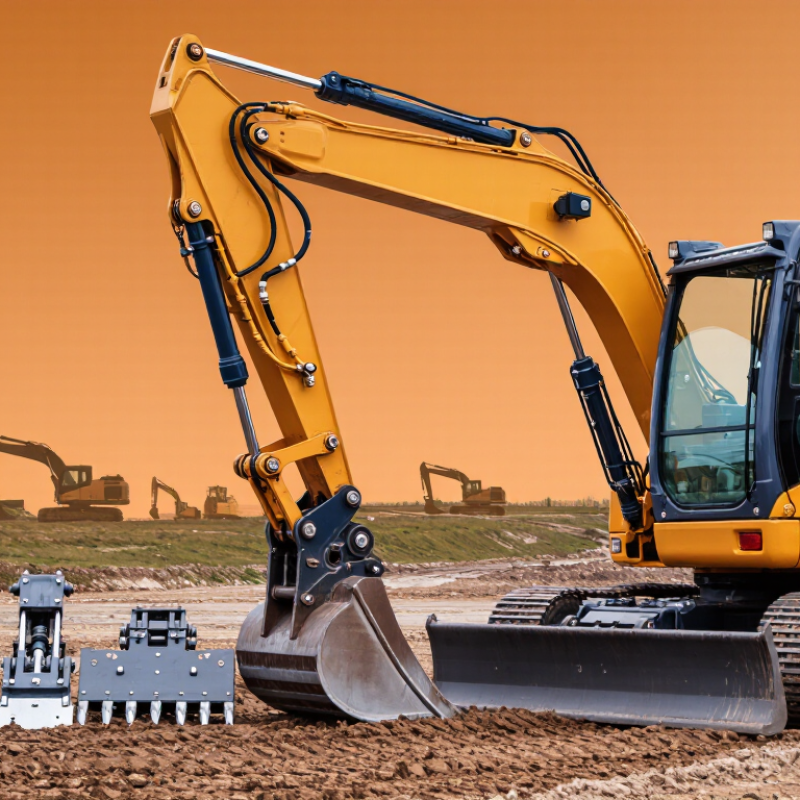
Define the Task and Confirm a Tilt Coupler Suits the Excavator
Before choosing a tilt coupler, define the work it must perform. Ditch shaping, slope trimming, and finish grading place different demands on tool angle, bucket width, and cycle time. Write down the materials, typical trench depth, working space, and how often the attachment will tilt. Small details matter. A narrow urban trench may need a different setup from an open drainage project.
Then confirm the coupler suits the excavator, not just the task. Compare its weight and rated capacity with the machine’s operating limits. Check pin diameter, pin-center distance, stick width, hydraulic flow, and pressure against the excavator manual and coupler specifications. Confirm that the locking system and auxiliary hydraulics are compatible, too. The U.S. Bureau of Labor Statistics’ 2023 Census of Fatal Occupational Injuries recorded 1,075 fatal work injuries in construction; its tables do not isolate coupler incidents, but they underline why attachment fit and safe checks deserve attention. A specification sheet can still miss a worn pin or a restricted hose. Inspect the actual machine, verify clearance through the full tilt range, and ask a qualified service technician to confirm any uncertain measurements.
How to Choose an Excavator Tilt Coupler?
Define the task and confirm the tilt coupler suits the excavator.
Follow the checks in order: identify the work, verify the excavator and attachment interface, confirm hydraulic requirements, and check rated capacity and manufacturer approval. Bar lengths show checklist sequence only; they do not indicate importance or product specifications.
Match Pin Diameter, Pin Centers, and Dipper Width to the Stick
How to Choose an Excavator Tilt Coupler?
Start with the stick’s three key dimensions: pin diameter, pin-center distance, and dipper width. Pin diameter is the size of the pins passing through the stick and coupler ears. Pin centers are measured from the center of one pin hole to the center of the other. Dipper width is the outside width of the stick where the coupler mounts. Small gaps matter. A few millimeters of mismatch can cause difficult installation, excess movement, or uneven loading.
Measure the bare stick where possible, and check both pin holes for wear or ovaling. A tape measure can estimate pin centers, but calipers or a suitable gauge give a more reliable pin diameter. Measure between the inner faces of the dipper ears for width; do not confuse this with the outside measurement. One easy mistake is measuring worn pins and treating that reading as their original diameter. Check the machine and attachment specifications, then compare all three dimensions with the coupler’s stated fit range. Also confirm that the coupler has enough side clearance and that its pins seat without forcing them into place. If measurements disagree, pause and verify them. Guessing can be expensive.
Compare the Typical ±45° Tilt Range with Required Working Angles
Many excavator tilt couplers are described as offering about ±45 degrees of movement. Treat that as a reference, not a guaranteed working angle. Actual travel can vary with the coupler design, excavator linkage, bucket shape, and hydraulic setup. Check the specified range for the exact machine and attachment combination. Small print matters.
Compare that range with the angles your tasks demand. A drainage ditch may need a bucket held steadily across a sloped bank, while grading beside a wall can require careful control near the coupler’s limit. On uneven ground, the excavator’s position also affects the angle available at the cutting edge. The coupler’s tilt figure is not always the bucket’s useful working angle. That distinction matters.
Before selecting a unit, list the steepest slopes and tightest clearances you regularly encounter. Ask for dimensional drawings or a demonstration with your own bucket, then check hose routing and clearance through the full movement. A paper specification can look generous. I would still allow a margin; working constantly at maximum tilt may reduce control or bring the attachment close to nearby surfaces. A few degrees of reserve can make a difference on a narrow trench or finished slope.
Check Coupler Capacity, Machine Weight, and Hydraulic Pressure Ratings
How to Choose an Excavator Tilt Coupler?
A tilt coupler must match the excavator’s rated capacity, not just the bucket’s weight. Check the coupler’s load rating and pin dimensions against the machine’s specifications. Include the attachment’s weight when estimating the load, and consider the forces created when digging off-center. A full bucket reaching sideways can place more strain on the coupler than a light, straight lift. Small mismatch, big consequences.
Machine weight matters, but it is not the only measure. Confirm the excavator’s operating weight and permitted attachment range in its manual. Then check that the coupler is approved for that machine class and intended work. A heavier machine can deliver higher breakout forces; using a coupler that merely fits the pins is not enough. I would not rely on a seller’s general “fits this size” description without checking the actual ratings.
Hydraulic pressure and flow must also suit the coupler’s requirements. Compare its specified operating pressure with the excavator’s auxiliary circuit and relief settings. Do not assume that a higher pressure rating means better compatibility. Pressure alone can mislead. If specifications are unclear, have a qualified technician verify them with suitable test equipment before operation. Recheck the coupler’s locking indicators and connections after installation; details are easy to overlook when a job is waiting.
Verify ISO 13031 Safety Features, Lock Indicators, and Maintenance Access
When choosing an excavator tilt coupler, verify safety against ISO 13031:2016, Earth-moving machinery—Quick couplers—Safety. The standard covers coupler safety requirements, testing, and user information. The U.S. Bureau of Labor Statistics reported 1,075 fatal work injuries in construction in 2023. That figure is not specific to couplers, but it underscores why attachment checks deserve care. Small details matter.
Inspect the locking indicator from the operator’s seat and at ground level. Confirm it clearly shows the locked position, then follow the manufacturer’s procedure to verify engagement before lifting. Look for a secondary safety device and check that controls cannot trigger release accidentally.
Examine hoses and pins for leaks, looseness, or fresh metal wear. A painted mark can help reveal movement, but it cannot replace a functional lock check. ISO guidance is a baseline, not a substitute for machine-specific instructions.
Tips: Check maintenance access before buying. Can a technician reach grease points and inspect the locking mechanism without awkwardly reaching beneath the attachment? Ask for the inspection schedule and test procedure in writing. Keep the checklist near the machine, and record any unclear indicator behavior for follow-up. Do not assume a quick visual glance is enough.